Miniature pumpkins is what I like to think of as the gateway pumpkin to giant pumpkins.
They are cute, small and easy to grow and have very few problems or things you need to manage like when you grow giant pumpkins. They are a great conversation starter and a great pumpkin to grow with the young and old.
Benefits of Miniature Pumpkins
- Easy to grow with little maintenance
- Don’t take up much space and can be grown in large pots if needed
- Good yield of pumpkins – usually from 6 to 12 in ideal conditions
- Super cute and colourful
- Edible if you want
Miniature Pumpkin Varieties
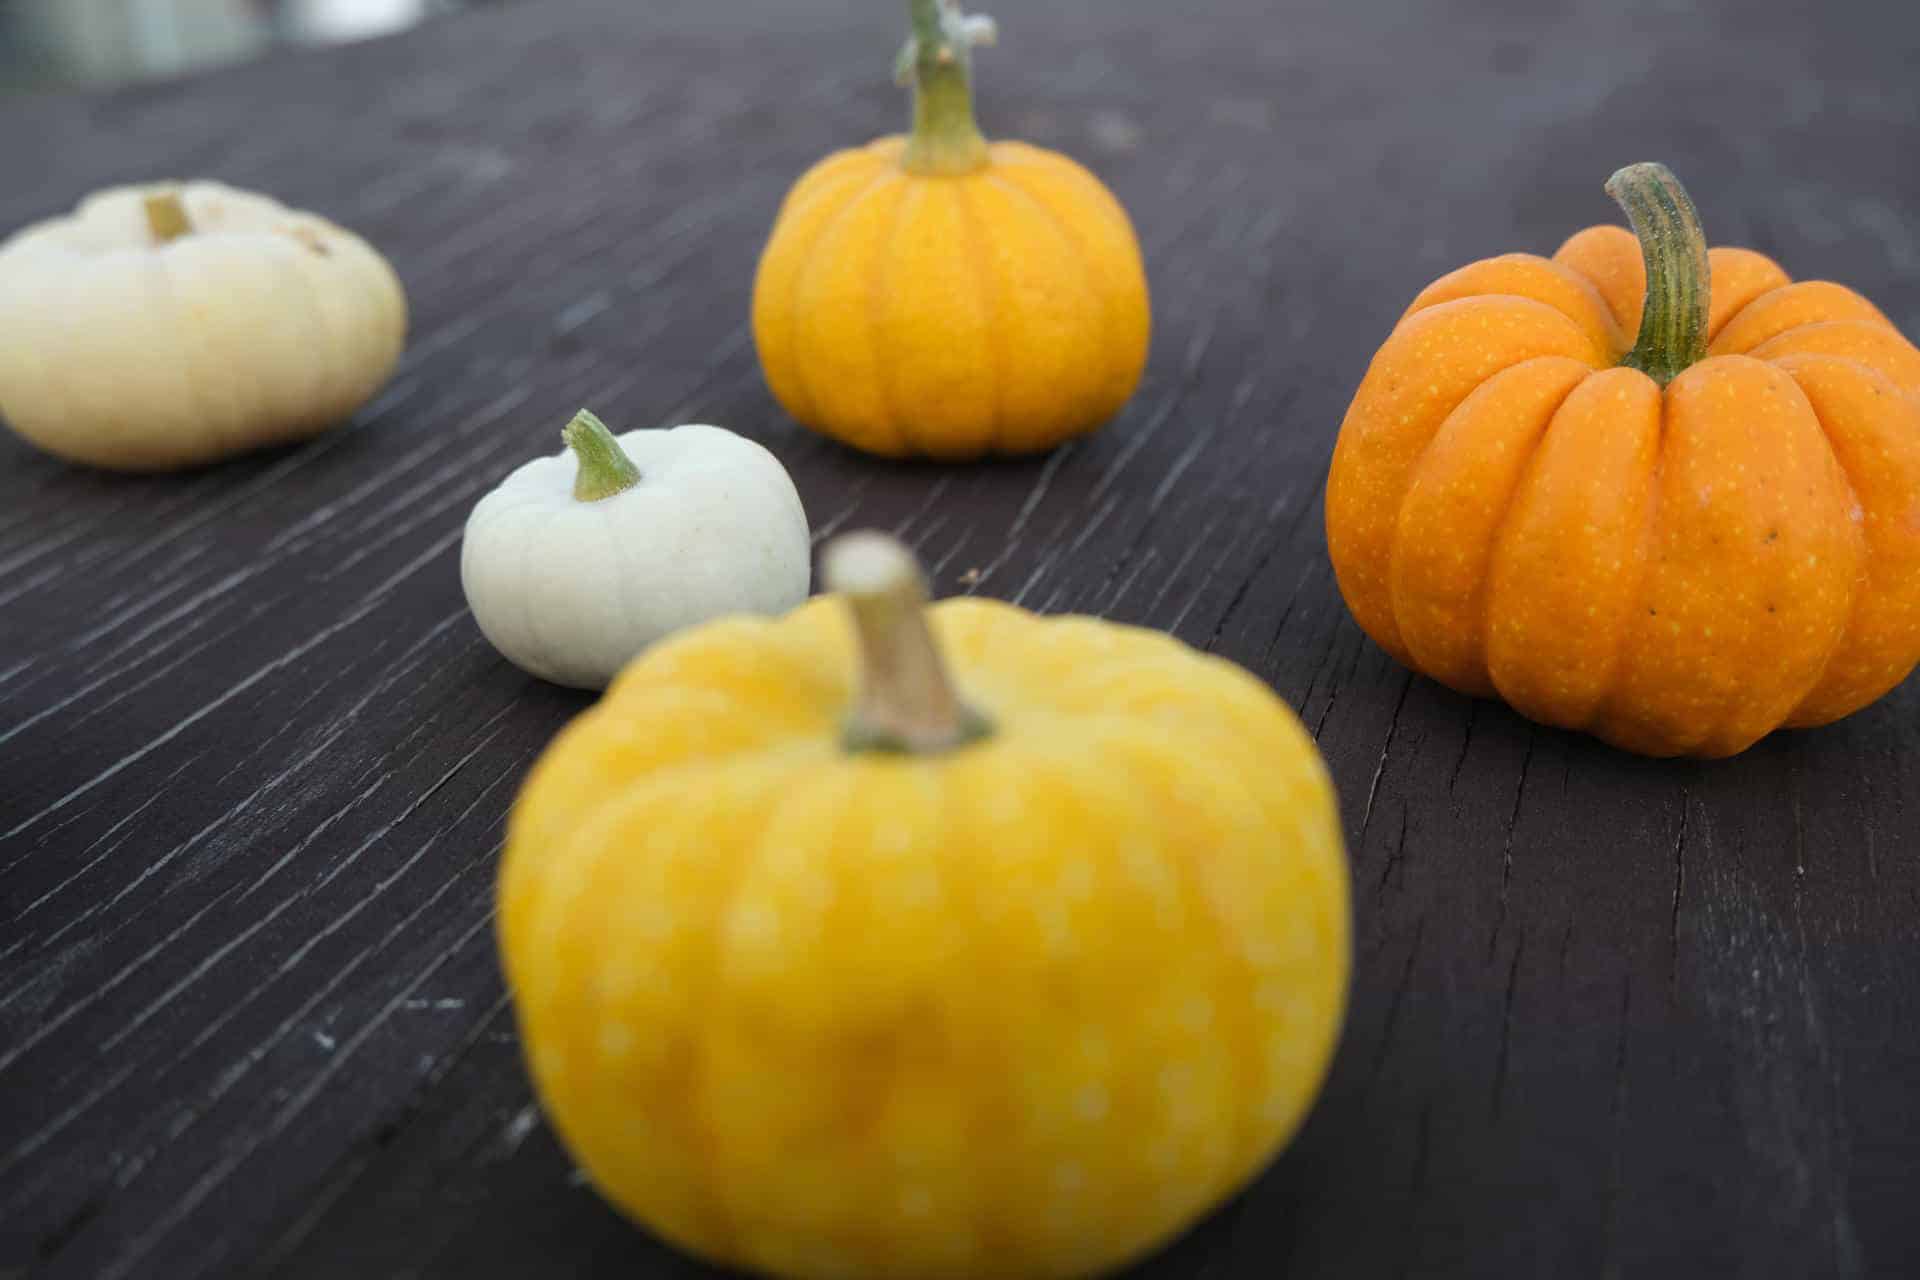
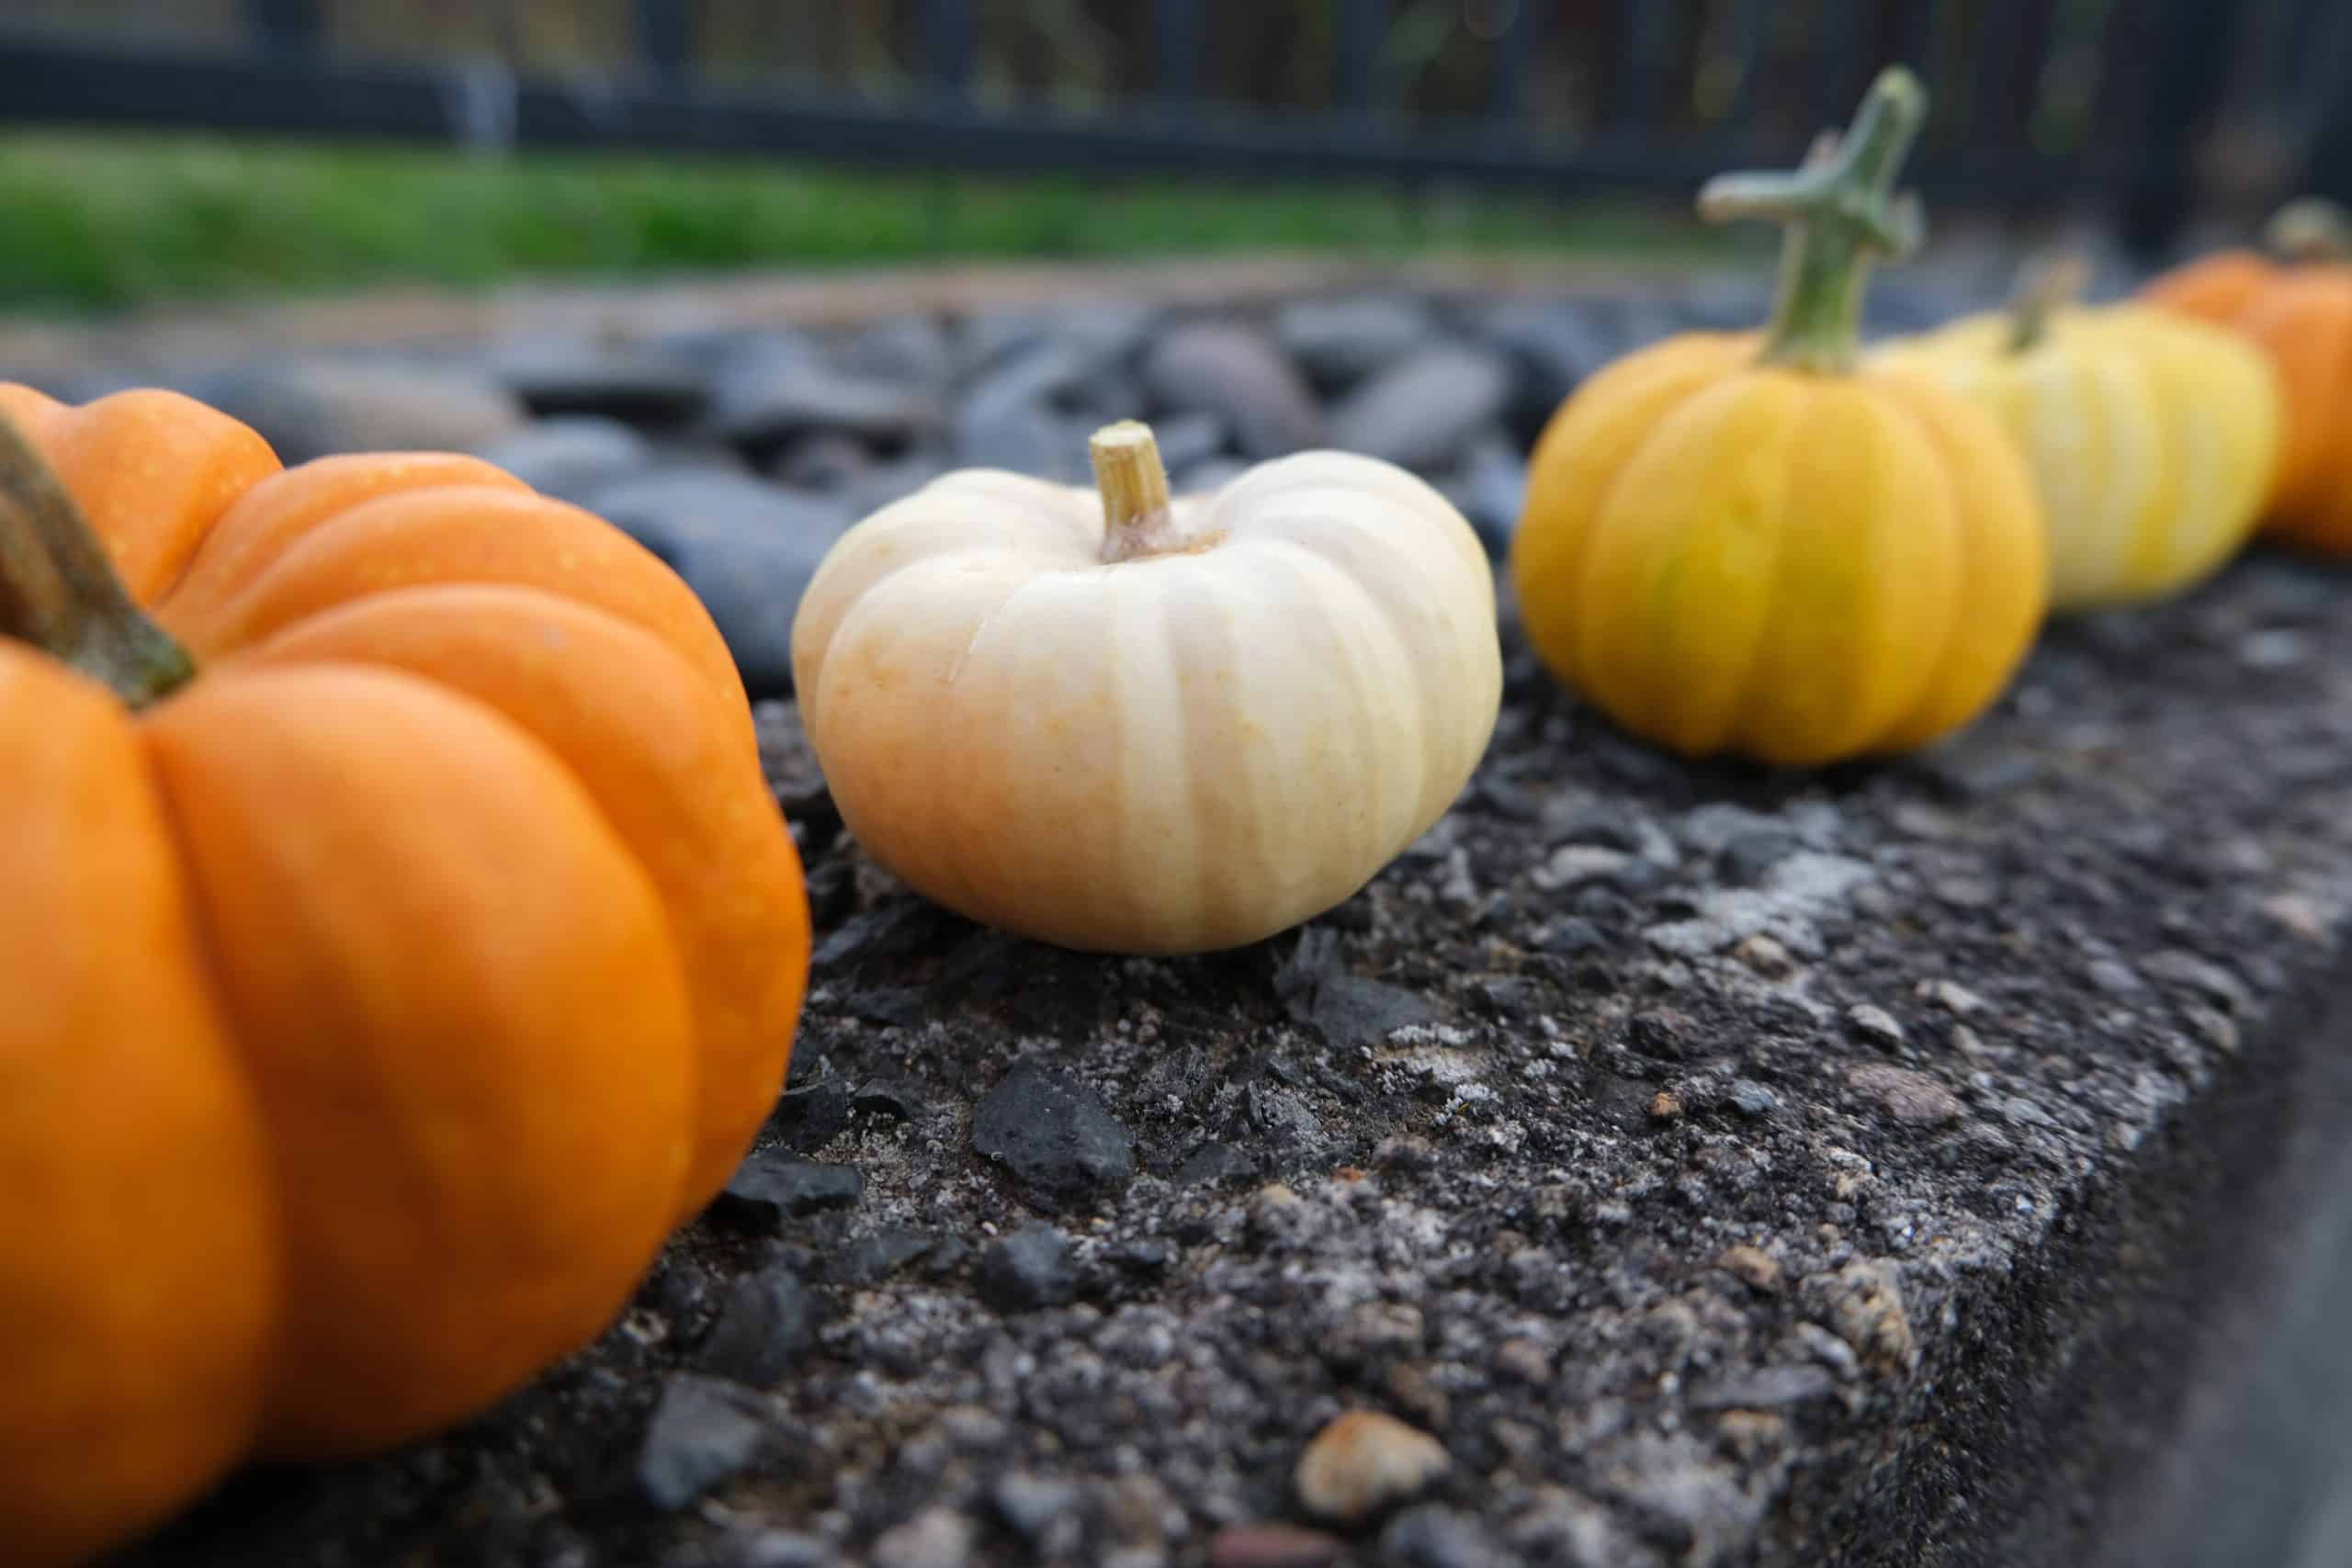
The botanical name for miniature pumpkins is Cucurbita pepo. Within that there are many different types you could grow. Depending on where you are located in the world they could range in size and colour.
Here in New Zealand at the time of writing it looks like the type available are limited. This could be a by-product of the seed import rules set by MPI, or a lack of interest due to the pumpkins size.
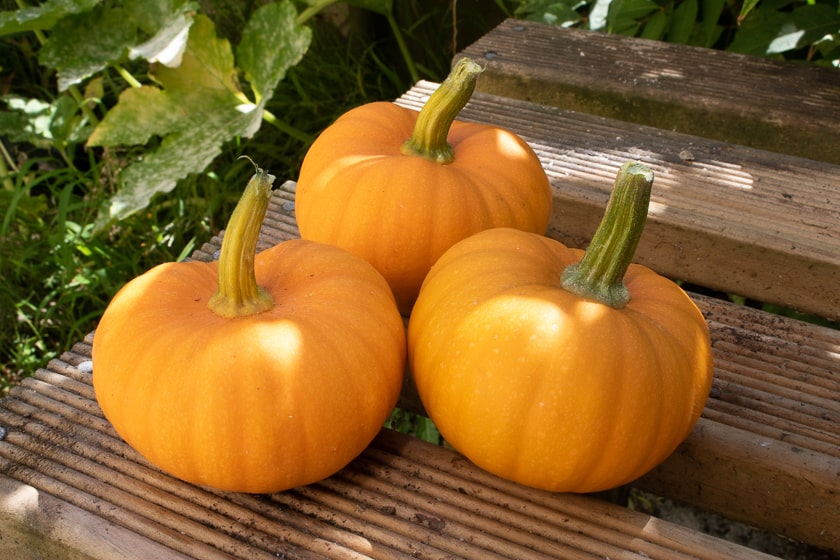
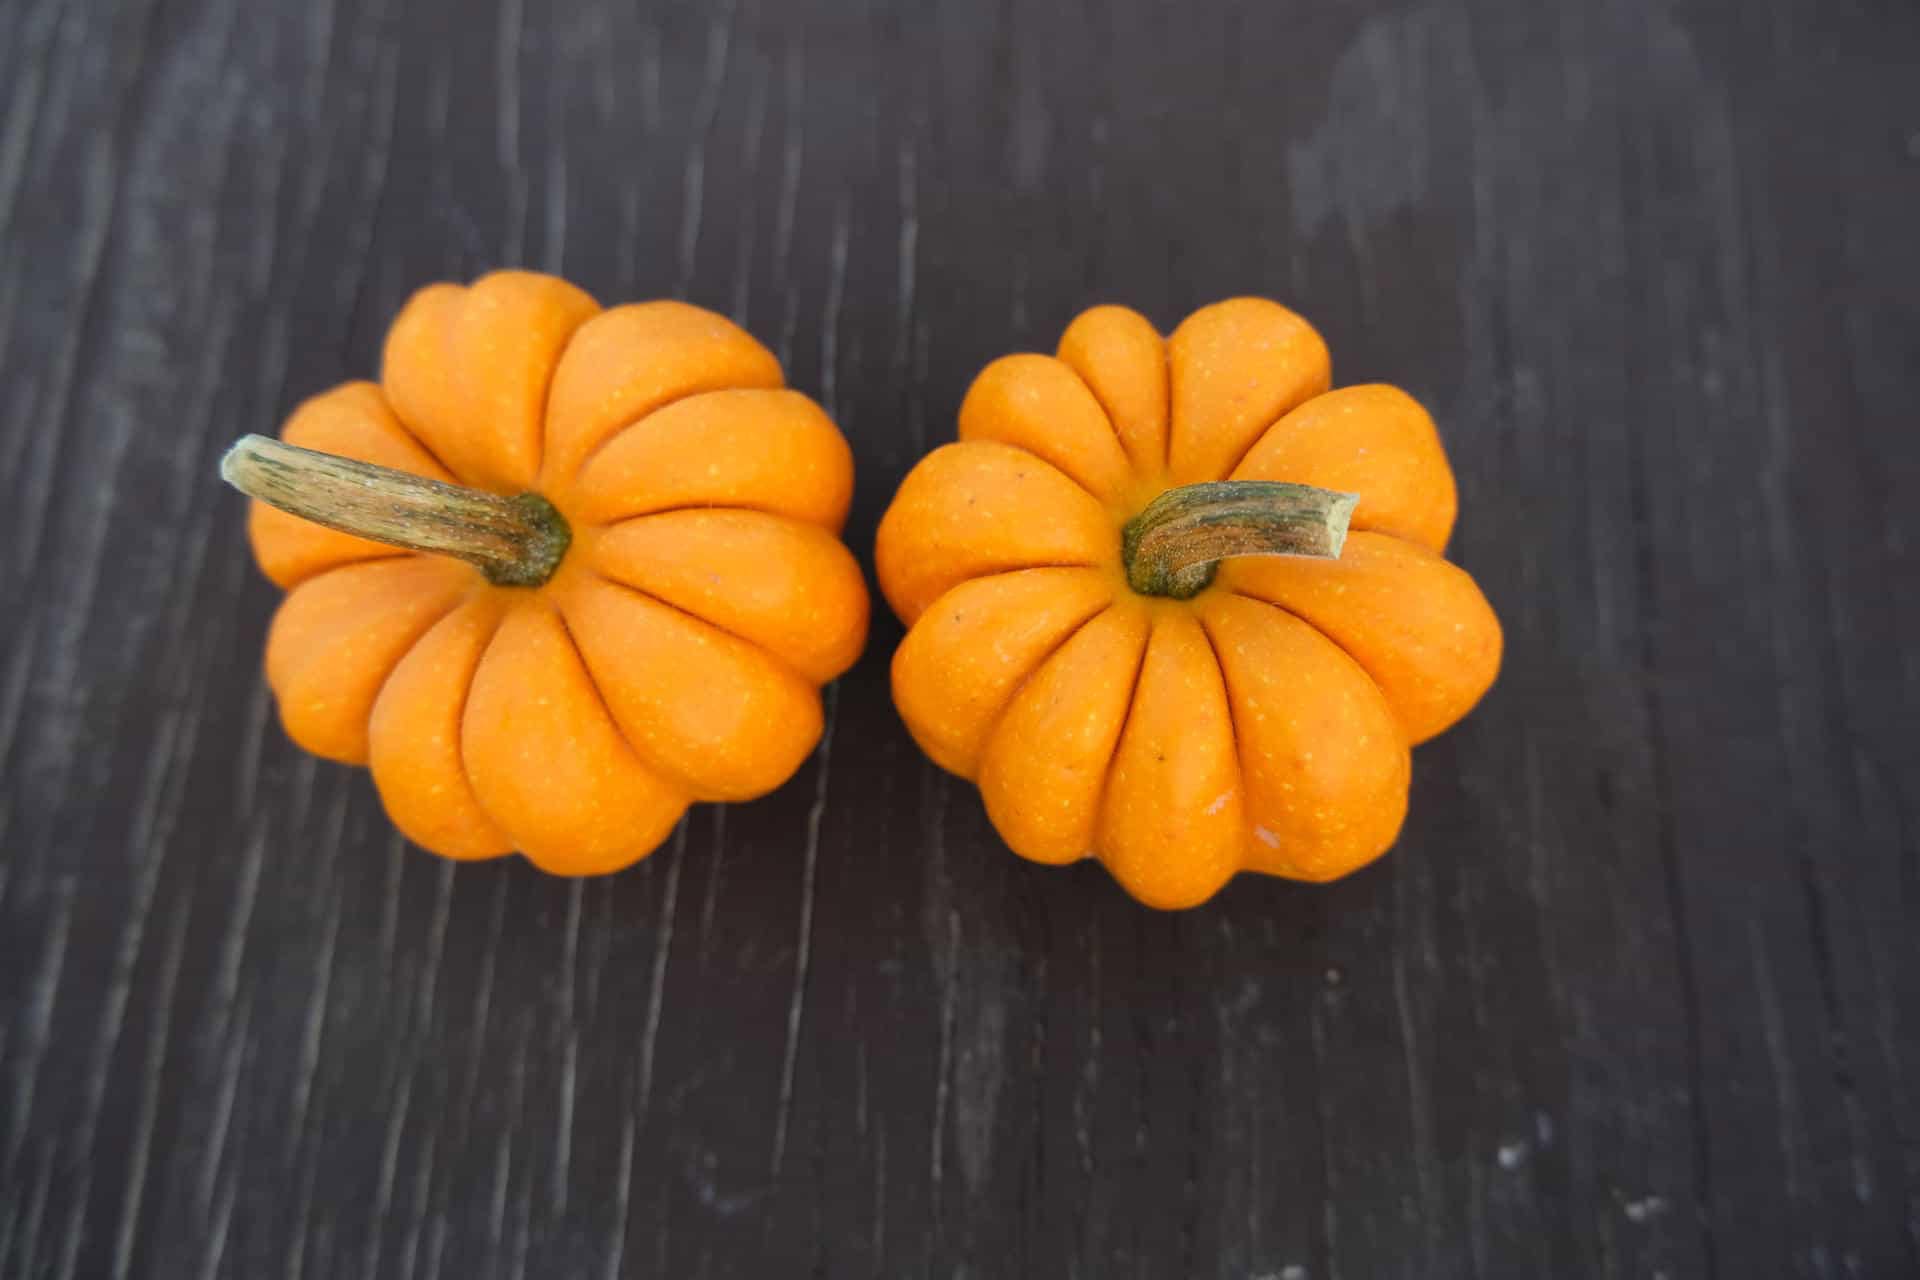
Here’s a couple of photos of different types I’ve grown over the years.

Sourcing Miniature Pumpkin Seeds
Have a look at what Kings Seeds or Egmont Seeds have currently. There may be some for sale on Trademe, or ask any local pumpkin grower if they have any on hand.
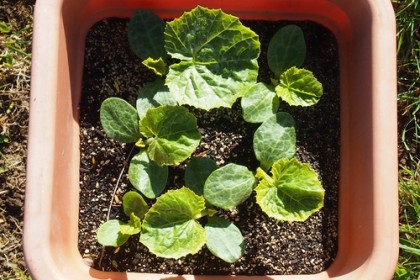
Space Needed
Miniature pumpkins don’t require much space to grow. If pushed for space they can even be grown in a large pot. This can effect how many pumpkins you get but it is a viable option if you truly have no space.
When to Plant Miniature pumpkins
With a shorter growing season than the giant pumpkins miniature pumpkins are ideal to start a bit later when all frosts have long gone. The end of October and through November are the times I like to start mine here in New Zealand.
Length of the Season
Around 90 – 120 days from start to finish is what you can expect when it comes to miniature pumpkins. It can vary a little depending on the exact type you are growing, weather and how the season goes. But aim for a timeframe around that.
Seed Starting
Miniature pumpkins can be started inside and then transplanted out into the garden like many other plants. For most people I suggest planting directly out into the garden or area you are wanting to grow the pumpkins. It’s easier and I’ve always had goo results with this type of pumpkin.
When planting plant the seed 1.5 – 2cm deep into the soil or seed raising mix.
Spacing
If planting more than one plant aim for 50 – 100mm spacing between seeds or seedlings.
Germination
If everything is going well, germination of the seed should take around 7 – 10 days. Some seeds may take a bit longer. It pays to have back ups and stagger the start of them just like giant pumpkin seeds.
Early Protection
The biggest problem when it comes to growing miniature pumpkins in the early stages is making sure you have something to control slugs and snails. I cover 6 different ways to stop slugs and snails here.
Animals that might eat or dig up your plants and curious children should be barriered off and kept away from the young seedlings if possible.
While wind can be a big problem for giant pumpkins I haven’t experienced the same sort of problems with the mini pumpkins. It’s something to keep in mind if your growing area is in a wind prone area. Sticks crossed over the vine can help it keep in place and prevent rolling of the vine in strong winds.
Vine Management
Honestly I’ve never really worried about it too much with these small pumpkins. Yes the vines can go in different directions, but they are easy to move or point in a different direction.
Once pumpkins are growing, if the vine is becoming problematic for your space you can cut the vine to stop it’s growth. The pumpkins will continue to grow.
Watering
Miniature pumpkins require nowhere near as much water as the giant pumpkins. They do however like consistent watering throughout the growing season. Especially during the hot summer days.
If the plant gets stressed due to heat it can abort pumpkins during the pollination stage or the pumpkins growth can be stunted.
Ideally you want to make sure the soil is moist. Watering every 2nd or 3rd day can help. If you have limited water supply do wat you can. Some water is better than no water.
Watering first thing in the morning allows the plant to dry out during the day and helps reduce the chance and spread of powdery mildew. A fungus that most pumpkin plants get late into the season. Helping keep this away for as long as possible is ideal.##
Fertilising
I’ve had good success with just consistent watering. As you aren’t growing for pure size like the the giant pumpkins fertilising isn’t as important. If you do want to feed your plant so it can grow it’s best use a seaweed or fish based liquid fertiliser.
Follow the instructions on the product and apply at the recommended doses and schedule.
Pollination
When it comes to the smaller variety I leave the pollination up to the bees. There may be some cross pollination between different types, but I think that’s part of the fun when it comes to growing in following seasons.
Of course if you are wanting to keep the genetics as clean as possible I’d advise following the same closed pollination principles as the giant pumpkins.
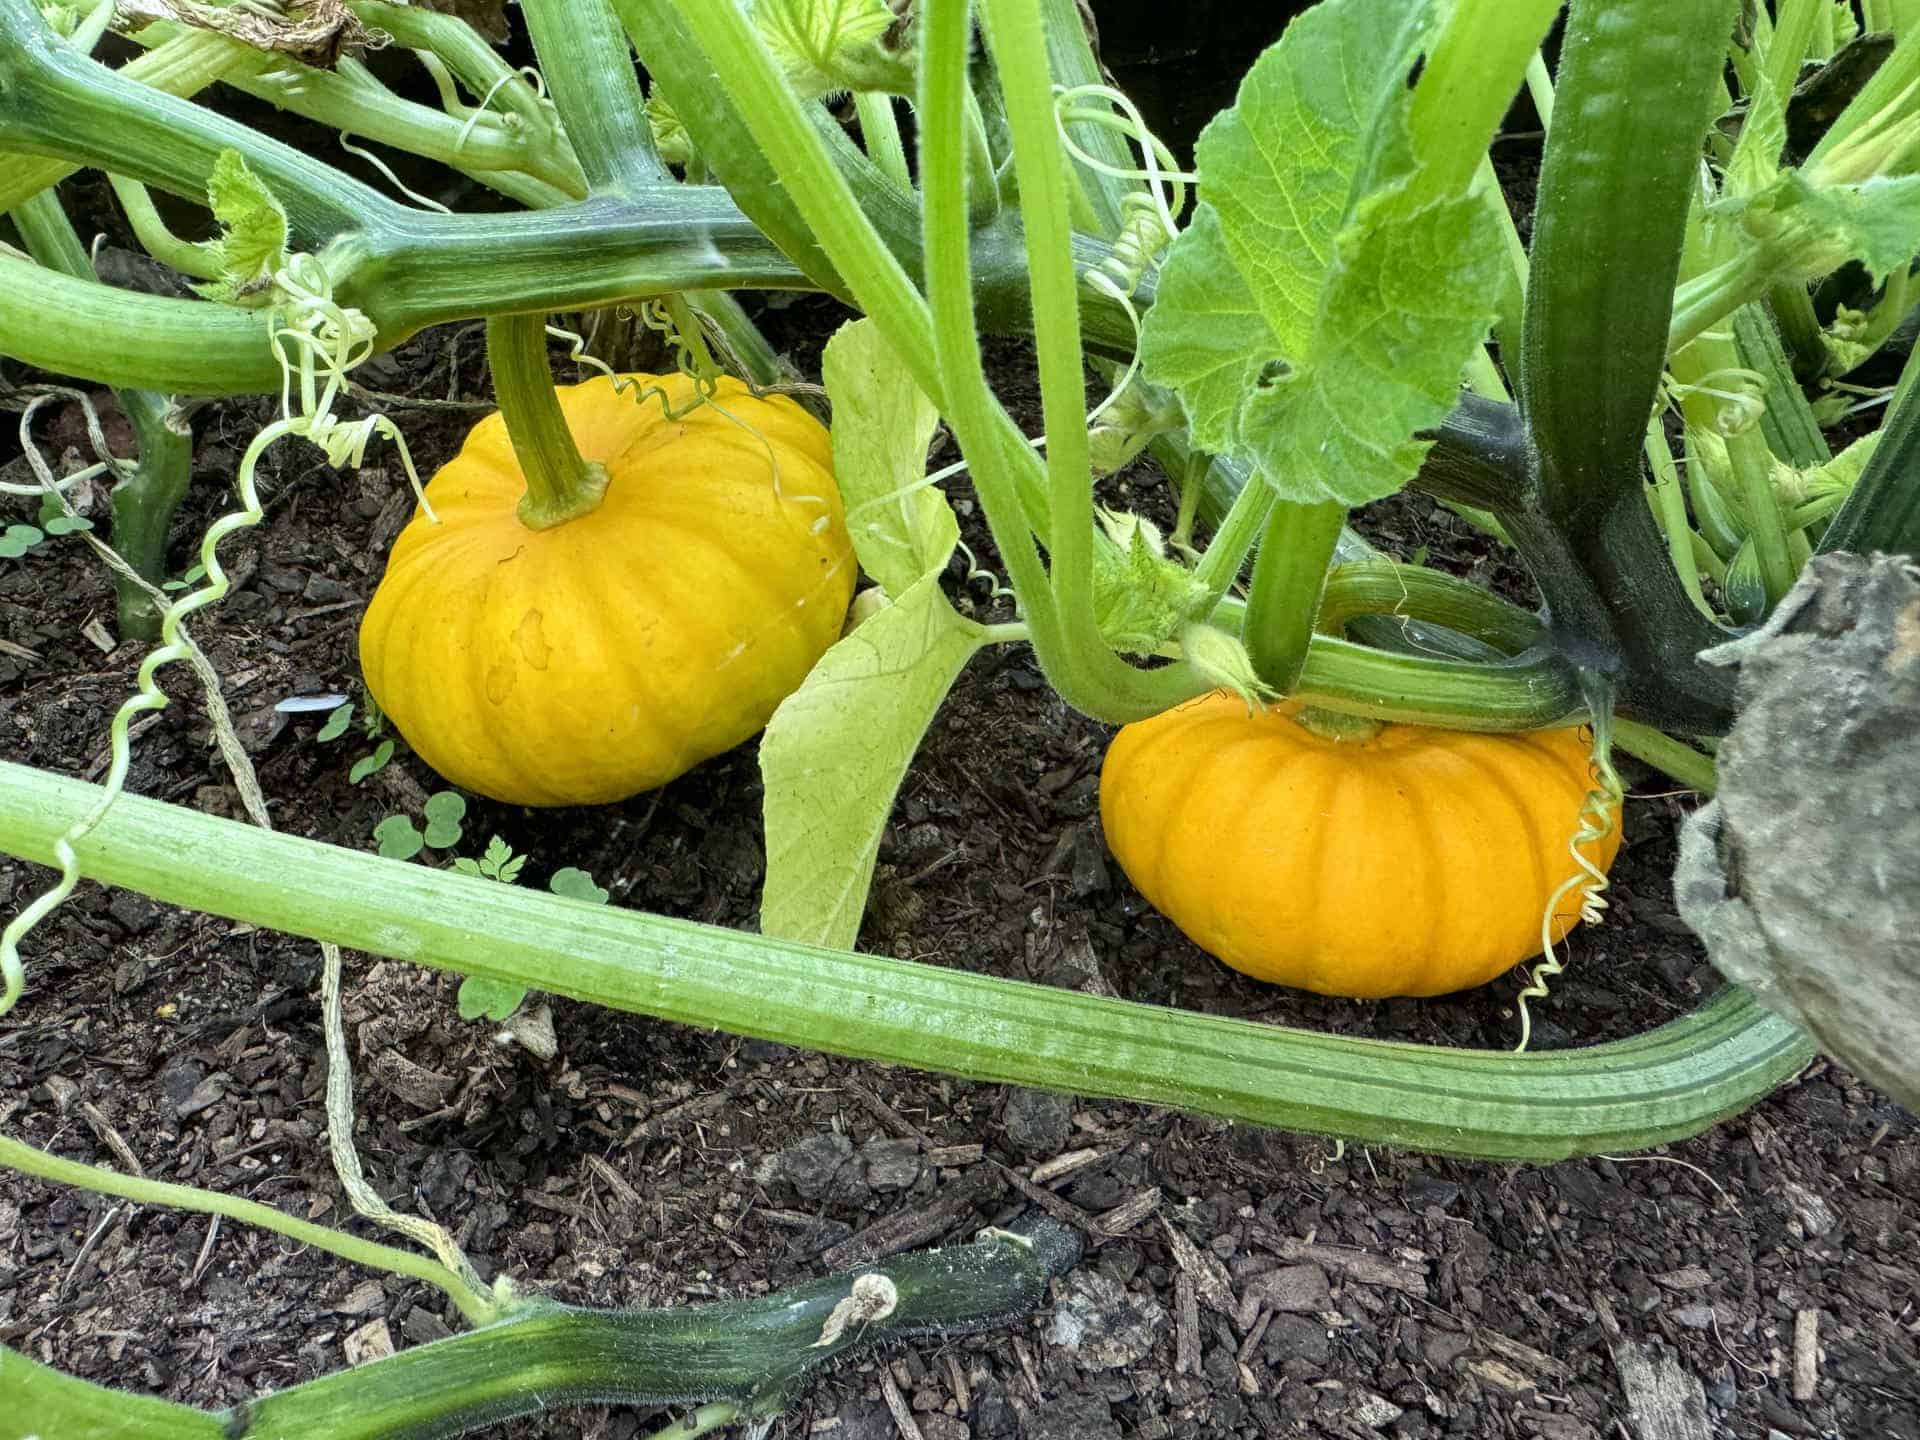
Harvesting the Pumpkins
Waiting until the vine starts to die off and the stalk connected to the pumpkin goes darker and dries off is the perfect time to harvest the pumpkins. It’s as easy as pulling or cutting them from the vine.
Make sure to check the whole vine. It’s no uncommon to find miniature pumpkins you didn’t know were there.
Eating
All miniature pumpkins can be eaten. Once the seeds have been removed they can be roasted whole. Eaten as is, or made savory or sweet.
For savory pumpkins think about stuffing them with mince or rice after being cooked. For sweet try adding cinnamon and nutmeg combined with ice-cream.
With such a large yield from a plant you could serve individual pumpkins to each person.
Decoration
Miniature pumpkins make great decorations or centre places. They can store for a long time. I’ve had some sitting around for over 6 months. Just be aware that when they go bad they can go bad quickly.
If you are wanting to store them for an extended period it pays to wash them with a very weak solution of water and peroxide to kill any bugs on the skin.
Seed Removal
Miniature pumpkins can contain a surprising amount of seeds. Saving seeds follows the same process as the giant pumpkins.
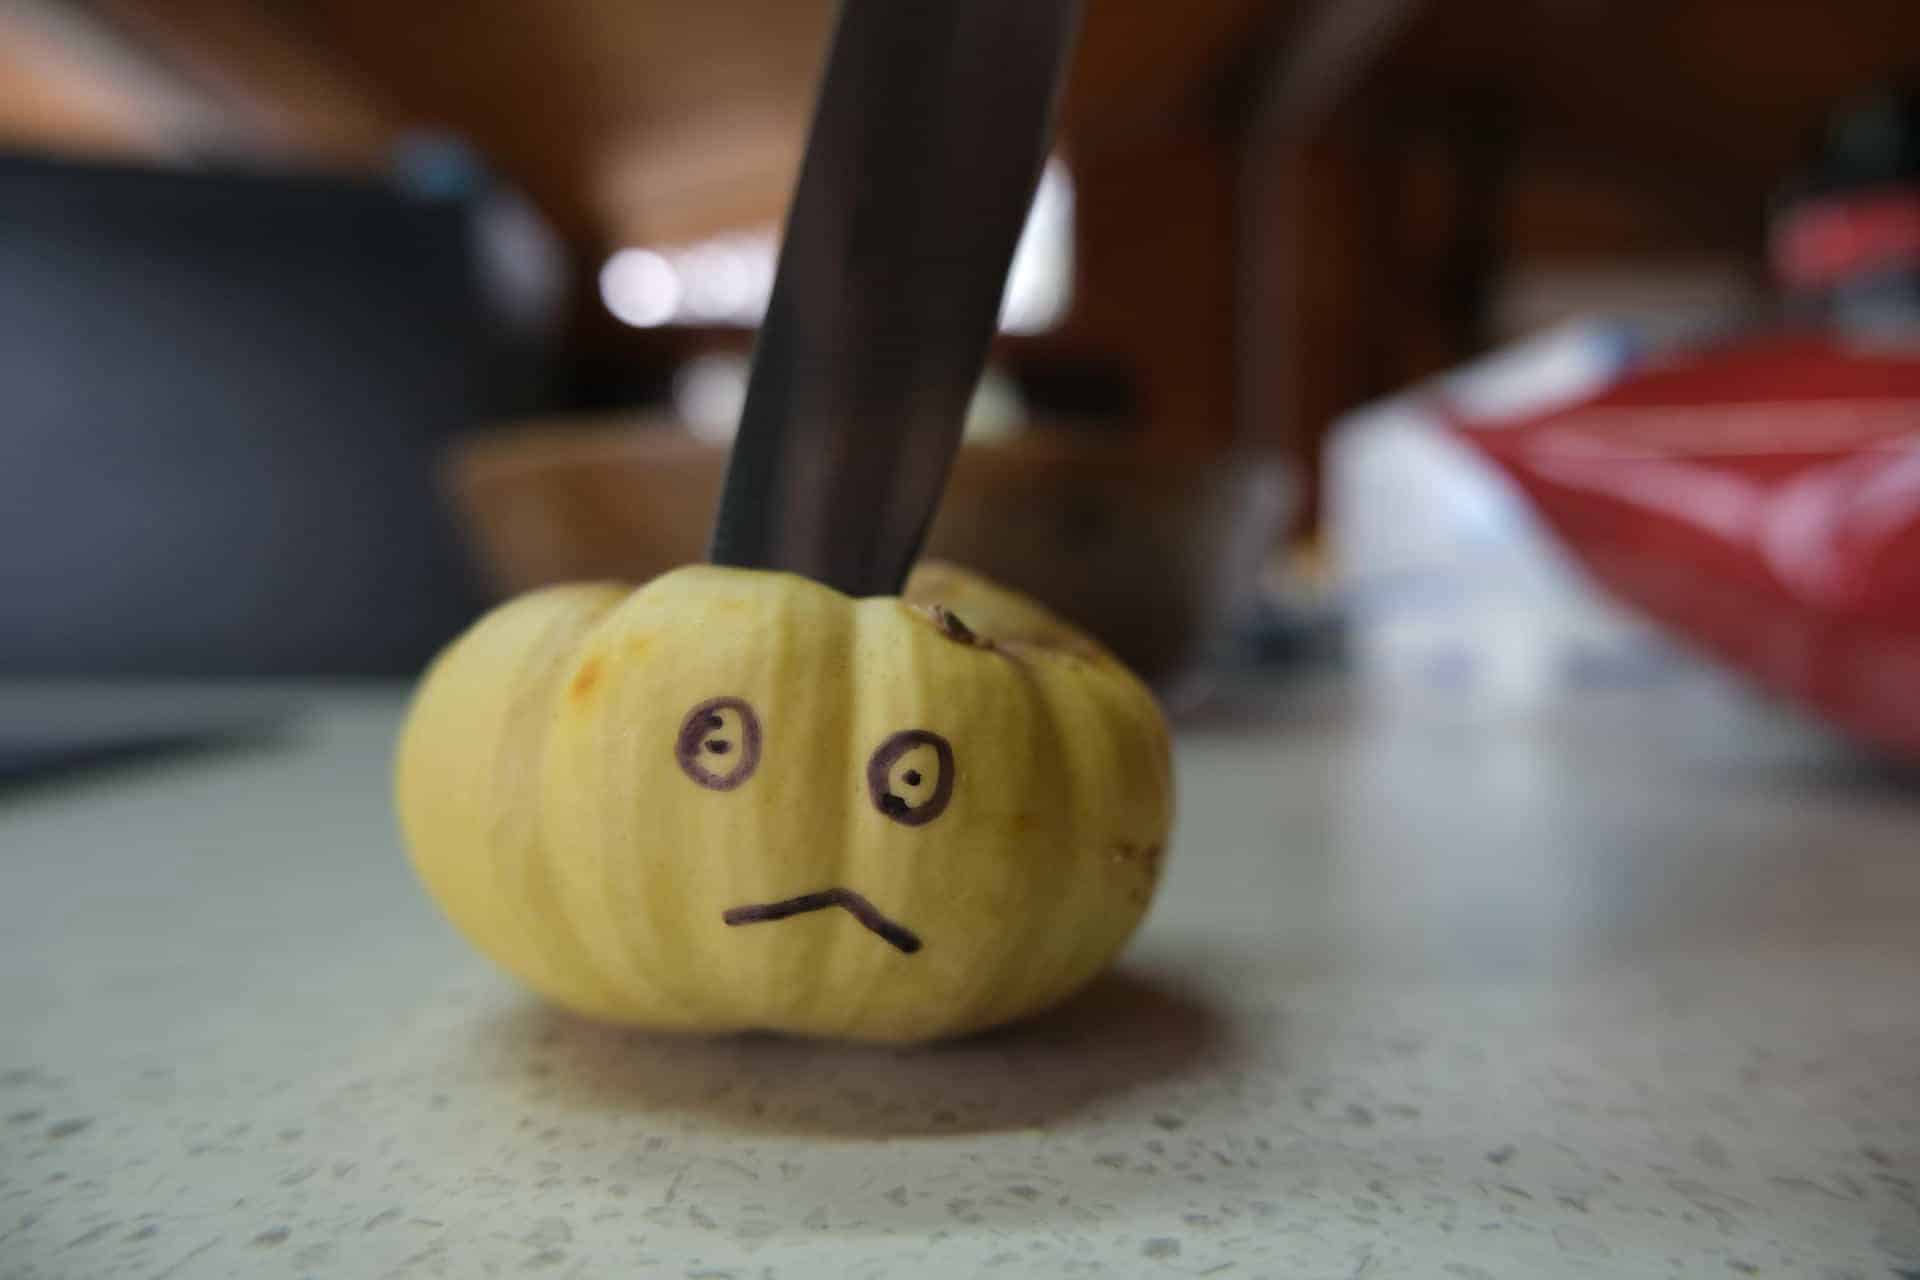
- Cut open the pumpkin (use a sharp knife and be careful)
- Remove all seeds and pumpkin guts
- Wash the seeds to remove them from the pumpkin guts
- Dry them as a single layer on a mesh screen or newspaper – allow to dry naturally fully
- Once dry remove all loose coating and store in a plastic bag or airtight container only when you know they are fully dry
Further Questions?
If you have any further questions that aren’t covered here, get in touch.